Creating KML maps using QGis
The goal of this tutorial is to show how to generate KML maps from shapefiles.
Find a map source
Obviously, at first you need to find a map source. One great public domain resource is the Natural Earth project. Here you can find shapefiles for things like administrative boundaries, lakes, rivers etc. Another good ressource is GADM, a project which provides really detailed administrative boundary shapefiles for every country in the world. Just click on Download and select the country you're interested in. For instance, you can download a ZIP that contains shapefiles for five levels of administrative regions of Kenya. Notice that GADM has a non-commercial license, so you need to ask for permission if you want to use the maps for commercial purposes.
Filter & convert the map source to KML
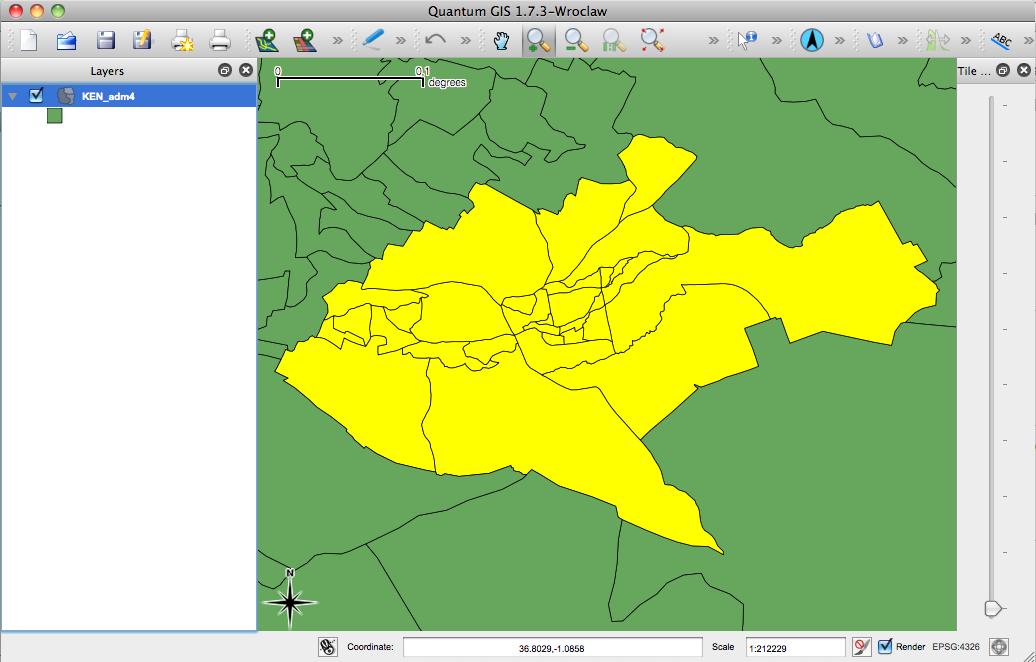
Now that you found a shapefile that contains the map data you need, you often need to remove all the parts that you don't need. To do so we can use the open source software QuantumGIS, or just QGIS. Let's assume you've downloaded and unpacked the Kenyan boundaries from GADM. In QGIS you can now open shapefiles using Layer > Add vector layer... For instance, here's a screenshot of QGIS after loading the KEN_adm4 shapefile.

Now we open the attribute table (right click on KEN_adm4, open attribute table) and select all regions of Nairobi by telling QGis to look for the term "Nairobi" in the field "NAME_1" (which contains the names of the Kenyan districts). After closing the attribute table we can make sure that we have selected the correct paths by chosing View > Zoom to Selection. The selected paths are highlighted in yellow:
QGis allows to export the selected paths by right clicking the selected layer and chosing Save selection as... Select the Keyhole Markup Language (KML) in the Format dropdown and chose a file name.
That's it. Now you can import the KML file into tools like FusionTables and start merging it with your data.